Weapons in Dead Zone Revive
Firearms, melee tools, ammo economy, and how rarity shapes DPS.
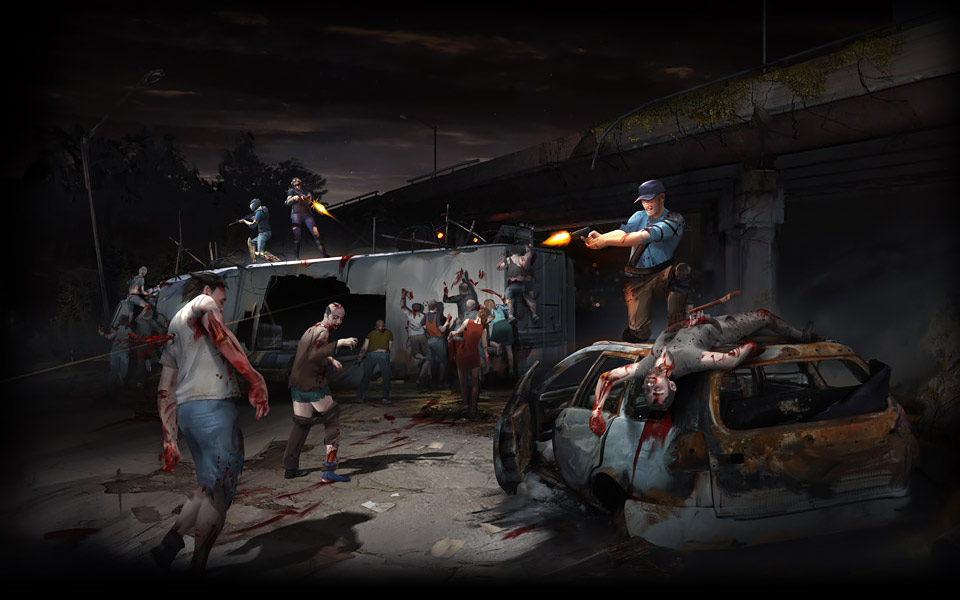
Weapons are the most visible slice of Dead Zone Revive’s loot pool — pistols, shotguns, rifles, machine guns, bows, and brutal melee tools pulled from mission crates, crafted benches, and player trade. The revival targets the legacy game’s enormous arsenal without pay-to-win shortcuts: power comes from where you scavenge, what schematics you unlock, and how attachments multiply base stats. This guide explains weapon systems so you can evaluate any drop on screen, even when Early Access has not restored every legacy firearm yet.
Weapon families and role fit
Weapons group into families that share ammo, handling, and attachment rules. Sidearms stabilize any loadout when primaries run dry. Shotguns excel in tight urban alleys with burst damage at close range. Assault rifles and carbines balance range and sustained fire for general district clears. Marksman and sniper platforms reward Recon spotting and long sightlines in open blocks. SMGs and LMGs trade accuracy for volume — strong on Fighter-led combat missions when you can afford the ammo burn. Melee weapons silence encounters and save bullets but demand positioning; they pair with high-agility builds and night raids where gunfire attracts hordes.
Class bonuses nudge these choices without hard-locking them. Fighters gain more from high-damage primaries and heavy armor; Scavengers benefit from lighter kits that preserve carry weight for loot; Medics want reliable sidearms while focusing on support gear; Engineers bring deployables and often mid-range rifles to cover trap placement; Recon highlights weak points and prefers weapons that punish headshots or flanks; Leaders distribute morale buffs and slot flexibly into any family. Cross-read the Players hub, Class Overview, and Tier List before melting rare guns into the wrong survivor.
Rarity, item level, and attachments
Every weapon rolls within a rarity band — common through higher tiers — that sets its stat budget and salvage value. Item level tracks where it dropped: a rare rifle from a mid-tier district often outclasses a common rifle from your starter zone even if both share the same silhouette. Attachments occupy fixed slots: optics for range, magazines for capacity, muzzles for recoil or noise, underbarrel grips for stability, and specialty mods unlocked through schematics. A mid-rarity gun with a full mod set frequently beats a higher-rarity gun with empty slots — see Gear and Attachments for mod types.
Durability matters on long sorties. Running dry on repairs mid-mission forces melee fallback or early extraction. Compound workshops and Engineer skills stretch weapon lifespans; hoard repair kits before pushing into high-tier districts.
Ammo and sustain
Ammo is an item category tied directly to weapon families. Mixing three incompatible calibers across five survivors spreads your stockpile thin. Standardize primaries where possible — two survivors on 5.56, one shotgun breacher, one sidearm user, one support — unless a mission specifically demands diversity. Loot runs should prioritize ammo crates when districts are combat-heavy; crafting benches convert scrap metal and chemicals into batches when missions underperform.
Consumables like grenades, molotovs, and medical injectors share inventory pressure with magazines. Plan extraction before you are overweight — Scavenger traits and compound storage upgrades help, detailed in Scavenging Missions and Resource Checklist.
Crafting versus looting weapons
You can acquire weapons three ways: direct drops, schematic crafts, and trade or alliance redistribution. Looting is volatile but free; crafting is deterministic but mat-hungry. Schematics gate the best repeatable crafts — chase blueprints that unlock attachment slots or ammo efficiency before cosmetic variants. Early Access may temporarily limit which benches function; when crafts fail, fall back to district farming documented on the Map hub.
Mission pairing table
| Mission focus | Primary picks | Notes |
|---|---|---|
| Loot run | Light carbines, sidearms, melee backup | Preserve carry weight; avoid LMG ammo burn |
| Combat clear | ARs, shotguns, LMGs | Stack Medics; bring repair kits |
| Raid / defend | Mixed range, explosives, traps | Coordinate with Alliances and Raiding |
| Schematic hunt | SMGs, silenced sidearms | Fast extraction beats maximal DPS |
Use the Loadout Planner to turn this table into a five-slot roster before deploy.
Related pages
- Items hub — full loot economy overview.
- Crafting and Loot — loop between missions and compound.
- Mission Types — which districts favor which weapon plans.
- Updates — weapon balance and restoration progress during Early Access.
Weapons change every patch while legacy content returns. When stats drift, trust the live client and report discrepancies via official channels linked from Community and Overview.
Frequently Asked Questions
Quick answers for survivors in the Dead Zone.
What is the best weapon in Dead Zone Revive?
There is no universal best gun. Match weapon family to mission type, district tier, and survivor class. The Tier List summarizes community picks for Early Access.
Do attachments stack?
Yes, within fixed slots per weapon. Mods alter stats like damage, recoil, range, and noise. Empty slots leave performance on the table.
Can I craft any weapon from scratch?
Only weapons with unlocked schematics and working benches. Many top-tier guns still drop primarily from high-risk districts.
Why did my rare gun underperform?
Check item level, attachment fill, ammo type, and durability. A common gun in the same family with better mods can win fights until you upgrade slots.
Are melee weapons viable endgame?
Situationally yes — stealth segments, ammo droughts, and tight map geometry. Most teams still carry at least one ranged primary per survivor.