Dead Zone Revive Loadout Planner
Plan five-survivor teams by mission focus before you leave the compound.
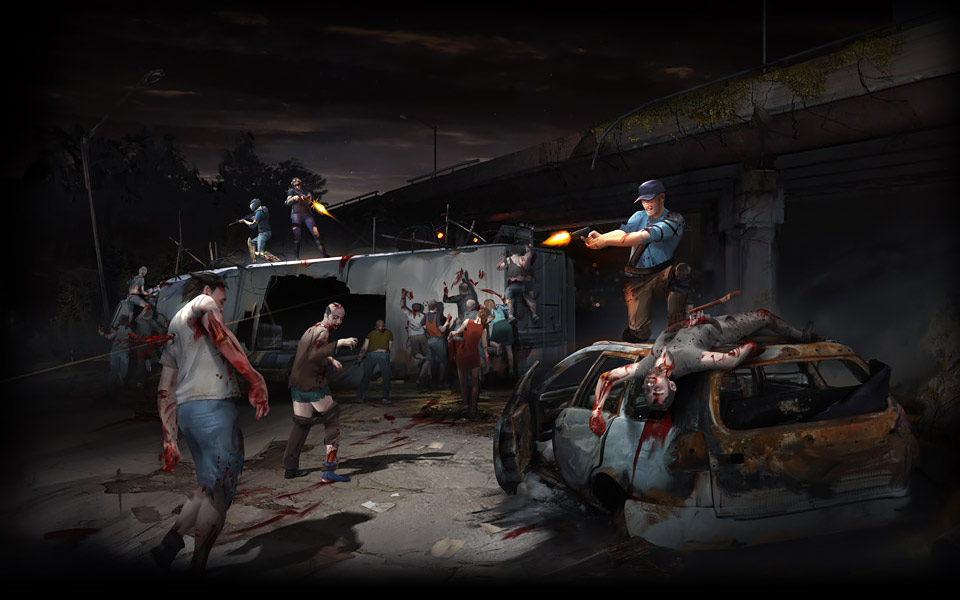
Loadout planner
Pick a mission focus, then balance your five-slot team.
Recommended classes
- Slot 1 Scavenger
- Slot 2 Scavenger
- Slot 3 Fighter
- Slot 4 Medic
- Slot 5 Recon
Every scavenging deploy in Dead Zone Revive sends five survivors from your roster. Slots are not interchangeable — class passives, gear weight, and player skill amplify different mission types. The loadout planner on this page (interactive widget when enabled) helps you pick a mission focus and map roles across five slots without reopening Class Overview mid-session. Use it as a pre-flight checklist: Leader anchor, specialists, Medic safety net, and flex pick for district quirks.
Planner mindset
Think in three layers:
- Mission objective — loot volume, kill pressure, schematic hunt, or player raid.
- District tier — spawn density and travel time from Districts and Locations.
- Survivor investment — level, Weapons, and Gear and Attachments on each candidate.
The planner does not simulate DPS numbers — Early Access balance shifts too fast for fake calculators. It enforces role coverage: every team needs extraction reliability (Scavenger or equivalent carry buffs), sustain (Medic), and at least one answer to elite infected (Fighter or heavy Engineer traps).
Interactive planner on this page
When the wiki embed loads, choose Loot run, Combat clear, or Raid / defend from the mission focus control. Slot pickers suggest recommended classes per slot based on legacy Dead Zone roles: Leader, Fighter, Scavenger, Engineer, Medic, Recon. Swap suggestions if your Tier List ranking favors a hybrid build — the widget is advisory, not law.
If the interactive block is absent (ad blockers, offline mirror, or pre-release build), use the markdown tables below identically.
Five-slot checklist by mission type
| Mission focus | Slot 1 | Slot 2 | Slot 3 | Slot 4 | Slot 5 | Priority gear |
|---|---|---|---|---|---|---|
| Loot run | Leader | Scavenger | Scavenger | Medic | Recon | Backpacks, sidearms, light armor |
| Combat clear | Leader | Fighter | Fighter | Medic | Engineer | AR/LMG, armor, traps |
| Schematic hunt | Leader | Scavenger | Recon | Medic | Fighter | Balanced weight, intel tools |
| Raid / defend | Leader | Fighter | Engineer | Medic | Recon | Burst DPS, walls, repairs |
| Beginner safety | Leader | Fighter | Medic | Scavenger | Recon | Any stable primary, medkits |
Duplicate classes may be allowed if passives stack — confirm in-game during Early Access. When banned, replace duplicate Scavenger with Recon for intel or Engineer for consumables.
Slot-by-slot responsibilities
Slot 1 — Leader. Morale and coordination buffs; flexible weapon; should never be your weakest survivor.
Slots 2–3 — Workhorses. Fighters for DPS, Scavengers for carry, or dual Fighters on combat missions.
Slot 4 — Medic. Non-negotiable on tier 2+ districts unless you stack medkits on every survivor and accept risk.
Slot 5 — Flex. Recon for scouting and flank damage, Engineer for traps on holdouts, second Scavenger on pure loot.
Document your final picks before deploy so alliance mates can mirror roles in co-op if supported.
Gear pass after role pass
Roles mean little without items:
- Match ammo families across primaries where possible.
- Fill attachment slots — empty optics waste range on Recon-led teams.
- Repair durability above 80% before tier 3 districts.
- Pack extraction consumables listed on Resource Checklist.
Cross-read Mission Types for objective-specific tweaks.
Example session walkthrough
You need industrial chemicals for a bench upgrade (Schematics). District is tier 2 industrial with combat-biased spawns. Pick Combat clear focus, run Leader + Fighter + Fighter + Medic + Engineer, equip mid-tier ARs, assign Engineer trap kits for choke points, and extract when chemical crates hit quota — not when the map is clear. That discipline beats max-kill ego every time.
Related wiki pages
- Tools hub — other utilities.
- Scavenging Missions — deploy and extract flow.
- Players hub — roster depth.
- Items hub — weapon and gear validation.
- Guides hub — full onboarding.
Save this page before major pushes. Five intentional slots outperform five favorite survivors with empty attachment slots.
Frequently Asked Questions
Quick answers for survivors in the Dead Zone.
Why always include a Leader in slot 1?
Leader passives stabilize morale and team-wide bonuses in legacy Dead Zone design. They are the default anchor unless future patches change slot rules.
Can I run five Fighters?
You can, but you sacrifice carry capacity, healing, and intel. Loot runs and long districts punish mono-class teams.
Does the planner save my roster?
The wiki tool does not sync with your game account. Copy results locally if you want persistent notes.
How often should I replan loadouts?
After every major gear upgrade, district tier jump, or patch listed on Updates.